
Getting Started
Set up your business
Add your business details, logo, GSTIN and — most importantly — your UPI ID or bank account so customers can pay you directly.
Before you send your first invoice, spend two minutes setting up your business profile. This makes your invoices look professional and ensures customers can actually pay you.
Business details
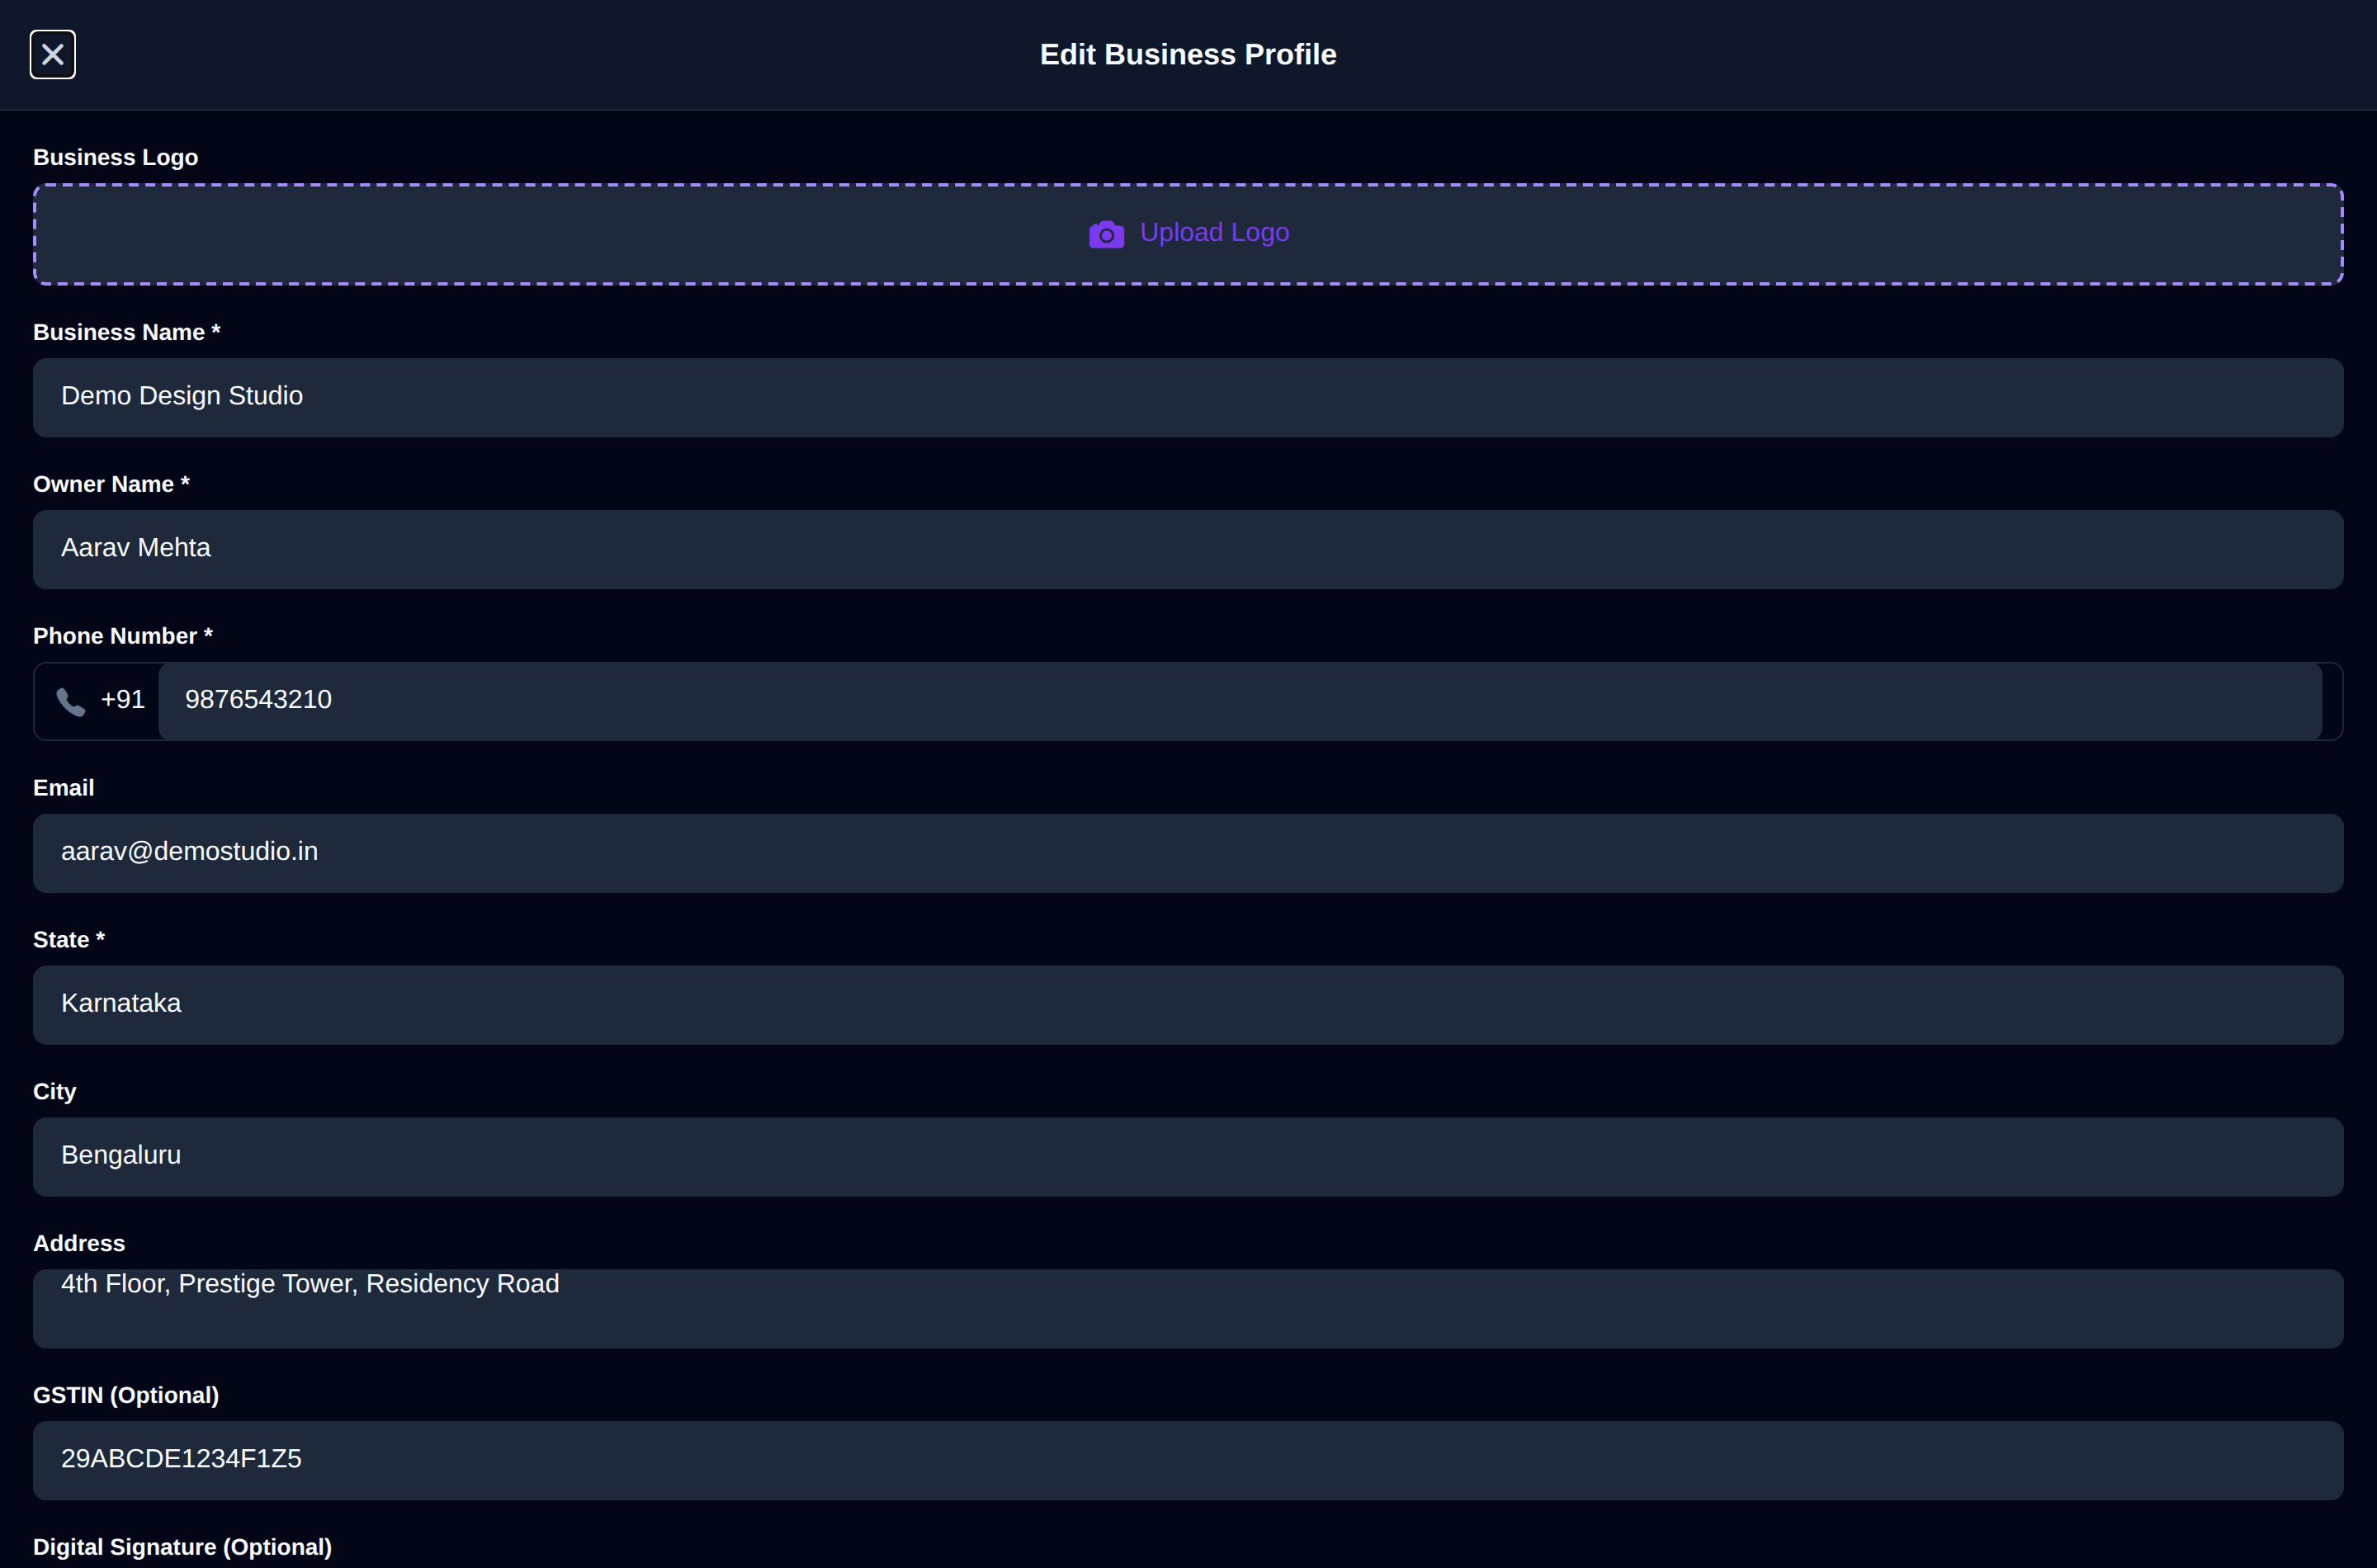
Go to the Profile tab and tap Edit on the Business Profile card. Add your:
- Business name — appears at the top of every invoice and pay page.
- Logo — upload it to brand your invoices and PDF (optional but recommended).
- GSTIN — needed for GST-compliant tax invoices; InvoiceKaro uses it to work out CGST/SGST vs IGST automatically.
- Address & state — used as your place of supply for GST.
- Owner name and phone number (both required).
Add a way to get paid
This is the important part. Tap Edit on the Payment Details card in your profile and add at least one of:
- UPI ID (e.g.
yourname@okhdfcbank) — recommended. Customers can scan a QR or tap to pay you instantly, with zero gateway fees, straight to your bank. - Bank account — account number, IFSC and bank name, for customers who prefer NEFT/IMPS/RTGS.
Money paid via UPI or bank transfer goes directly to your own account — InvoiceKaro never holds your funds. Learn more in How customers pay you.
Optional: signature
You can upload a signature image that appears on your invoice PDFs as the authorised signatory — a nice professional touch for formal invoices.